 Back to the index page Back to the index page
 EOS 350D infrared modI had the somewhat bad idea that I should get an old Canon EOS camera and make it into an infrared camera. Once I had decided to make an IR camera there were a few arguments for chosing a Canon EOS (I already have a set of lenses and infrastructure for my EOS 400D, it takes good pictures) and a lot of arguments against (a compact camera would be cheaper, have IR live-view, potentially no focusing problems with a replaced filter, metering would work, it's smaller, etc). So naturally I went the EOS route and got myself a used EOS 350D to rip apart. First some links. There are some good howto-style guides on taking apart EOS 3xxD cameras out there. They have good pictures, so I'm not going to re-iterate all that with my own high-rez images.
2010-09-04 Operation dayRemoving the IR filter (hot mirror) from a 350D in five thousand easy steps! 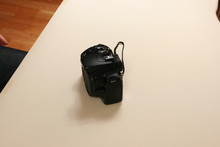 Come here, kitty... 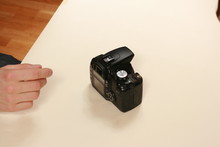 ...I'm not gonna hurt you... 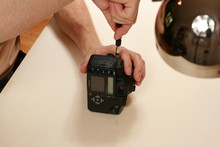 ...ha! Got you! *stab* 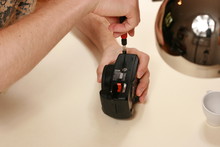 Remove the backside by removing 3 screws from the left side, 4 from the bottom... 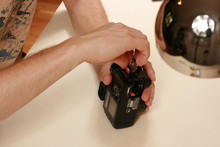 ...and 2 from the CF compartment. 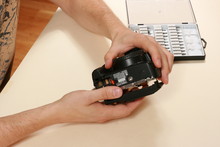 Then the back of the camera pops off easily... 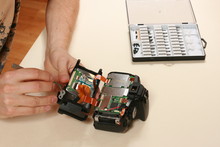 ...revealing two ribbon cables. Disconnect them... 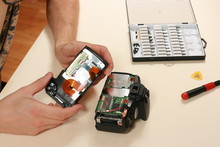 ...by lifting the tab on the PCB connector. 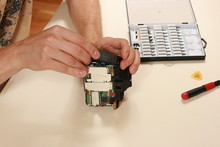 Remove the left side of the body by pushing it towards the top of the camera. 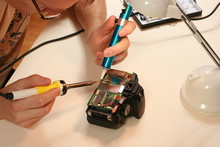 Desolder the shield that covers the ribbon cables to the sensor. 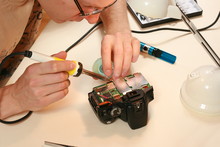 There are 7 tabs to desolder, but only 5 were actually soldered to the PCB on this camera. 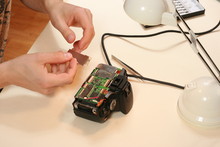 There, shieldless! 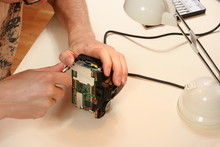 Remove the 4 screws that hold the PCB.  No! Don't remove the front! 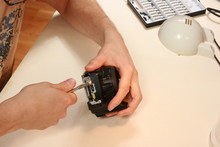 ...cut away the piece of plastic over the USB connector screw instead. 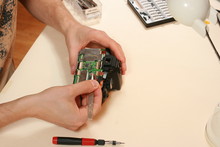 Disconnect the tiny ribbon cables... 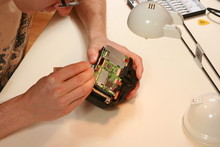 ...all 9 of them... 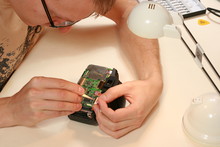 ...plus a connector with 3 red wires. 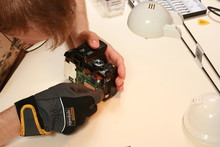 Then I couldn't remove the screw holding the bracket in the CF compartment... 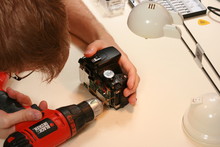 ...so I had to resort to violence. 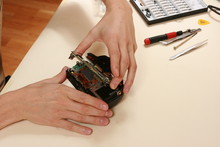 Lift out the circuit board. 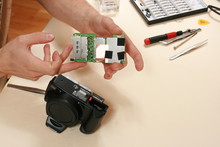 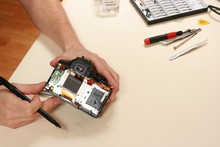 The sensor assembly sits beneath the PCB. 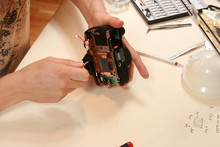 Remove the 3 long screws anchoring the sensor and the 2 short screws for the ground plane. 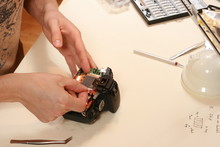 Lift out the sensor assembly. Don't lose the metal shims that are used to calibrate the sensor position. 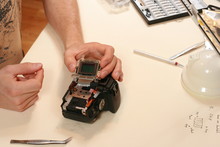 There it is! I removed the three distance shims, the top one was thinner than the two others (they are perhaps 100-500 μm). 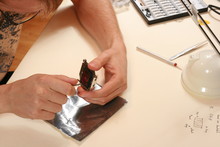 I tried to remove the filter holder, but the screws wouln't turn. My PH000 driver clearly doesn't fit the screws. 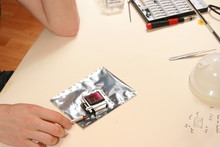 hmmm... I don't need to remove the filter holder... 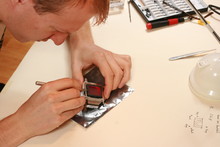 because the filter can be removed by cutting beneath the rubber gasket... 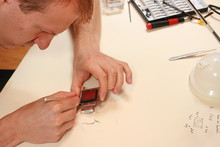 ...and excavating the rubber goo that keep the filter in place. 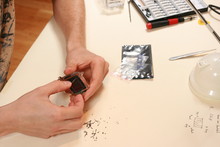 30 minutes of scraping later, gently lift out the filter.  It's a discusting green colour, I guess the white balance algorithm fixes that. 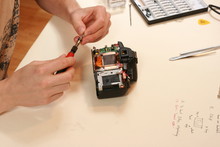 Put the sensor back. No shims were installed to (partly) correct for the shorter focus after the filter was removed.  Put Humpty Dumpty back together again... 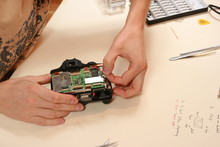 ...  ...replace the batteries... 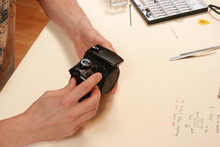 ...and boot'er up, finger on CF door microswitch. 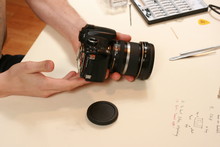 Take a test picture (came out very red!) 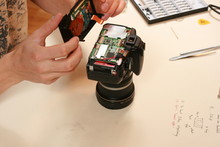 Put back the back panel (not resoldering the shield over the image processor). 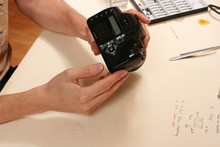 Display works! A note on JIS screwdriversI used a PH000 (philips) driver to take the camera apart. It was obviously not the right driver and didn't really fit the screw heads well. I ripped a number of screw heads and just couldn't get enough torque to remove some screws before the head was destroyed. I believe that the right driver to use is a JIS cross-point screwdriver. JIS (Japanese industrial standard) drivers and screw heads have much steeper slopes on the drive surfaces (if that makes any sense). Getting hold of JIS drivers in Europe is not an easy task; the hardware stores are full of philips and pozidriv drivers of all sizes, colours and whatnot. After looking in all the good hardware stores and an R/C hobby shop, e-mailing the electronics distributor ELFA (who "regrettably don't know of that driver type") and iterating through the North American shops that don't mail things abroad, I went to Ebay. There was one seller on Ebay ("The Knife And Tool Store") that carried JIS screwdrivers from Moody, so I bought a set. I think that JIS screwdrivers can be had from Micro-Tools Europe too, but that's about it apart from actually going to Japan (where JIS drivers are probably so plentiful that they use them to prop up wobbly tables). ResultsRemoving the glass filter results in the focus point shifting forwards roughly ⅓ of the thickness of the glass. The exact relation is that a pane of glass will shift the focus point away by d×(n-1)/n where d is the thickness of the glass and n is its index of refraction (typically 1.5 for glass). See Gary Honis' page for more details and credibility. To correct for this I removed the shims behind the sensor's mounting screws, but that wasn't enough. Focus is quite a bit off, and it can only be fixed by adding a bit of glass to the sensor. Taking pictures with the kit lens (18-55) can work by auto-focusing on the subject and then shifting back the focus just a bit. I also tried to take shots of the night sky with a Canon 50 f/1.8, but it wouldn't focus far enough beyond infinity to correct for the filterless sensor. 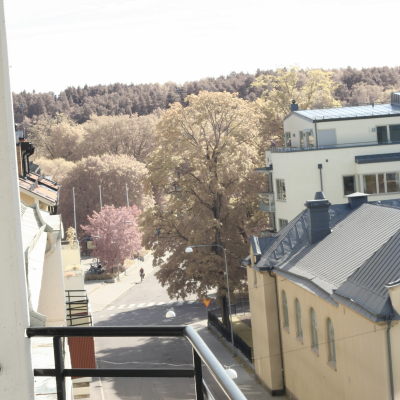 (ISO400 1/250s f/16, custom WB) One of the first shots taken with the modified camera. It looks mostly like a horrible washed out shot, but the trees show up as a lot whiter than normal. I clearly need a daylight filter on this thing! 2010-09-05 Adding a daylight filterThe plan all along has been to add a daylight filter directly to the sensor and make this a proper IR-only camera without any outwards visible traits. Before doing more invasive surgery I wanted to try out blocking daylight with a filter on the lens. I built the daylight filter from a step-up ring, black tape and red and blue Rosco gel filter samples, with complementary transmission spectra. Actually the filter looks deep red to the naked eye, and allows a tiny bit of light through the viewfinder. It's not exactly going to win any awards in fine optics, the lens flares are quite severe. 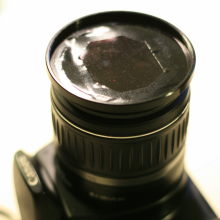 Worst daylight filter ever.  Funny WB set for some drama, levels adjusted in Digikam. Sharp enough.  Levels adjusted in Digikam. This was a sharp shot. 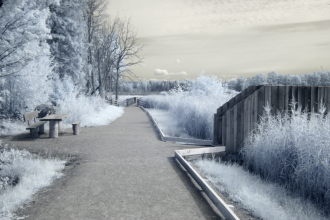 Levels adjusted in Digikam. Calibrated WB. 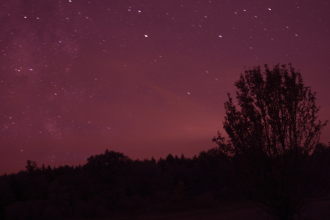 (ISO400 30s f/2.2, Canon 50 f/1.8) No post-processing, pitch-black night. The shot is really blurry. More stars are visible than with a normal camera. 2010-09-08 On my way to a proper filterI have now ordered a set of JIS screwdrivers and a Cokin A007 filter that I will cut to shape and mount directly on the sensor. Cokin A007 and P007 filters are made of some kind of plastic or resin and with some luck they will prove easy to cut in strips with a Dremel. 2010-09-17 Mounting a daylight filterYesterday I got the Cokin A007 daylight block filter. It came in a small plastic box without any padding, so it was nicely scratched already from the start. I take that to mean that Cokin filters are only for amateurs and idiots. Cokin filters suck. I had nightmares about that filter. I scored and broke off a suitable chunk from the filter where there were no visible scratching. The filter is made of a fairly bendy plastic material, but it was possible to break it with my fingers after scoring it with a knife. Then came the time to mount it to the sensor... 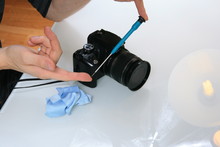 JIS #00 crosspoint screwdriver 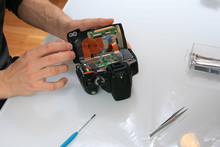 ... 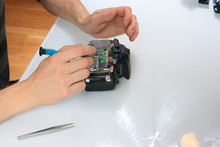 ...  ... 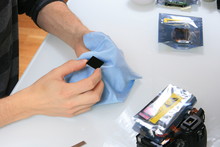 Polish the new filter a bit 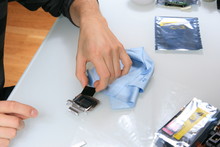 and mount it to the sensor 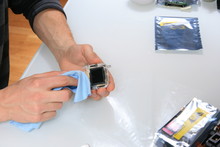 ... 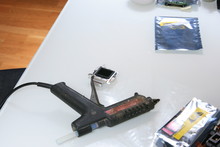 Add some hot-glue to hold it in place  and scrape off the excess 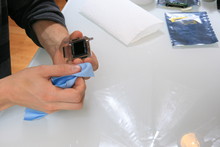 ... 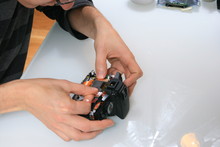 Put the sensor back, no shims under the mounting screws The Cokin filter was a tiny bit thinner than the original hot-mirror. I didn't mount the shims that were originally under the sensor's mounting screws, so the sensor is a bit further toward the front of the camera. The focus was off to the other direction now (it was behind the subject), so I think I might put the shims back sometime. After adjusting the focus with the hex screw in the mirror compartment (adjusts the resting position of the secondary mirror) focusing is now OK with my Canon 50mm f/1.8 but quite off with my 10-22mm. There are some severe black blotches on the pictures, mostly on the left of the frame. The blotches are worse at smaller appertures, being almost acceptable at f/1.8. I think these may be scratches or possibly dust on the backside of the Cokin filter, because I can't see them on the front of the filter. 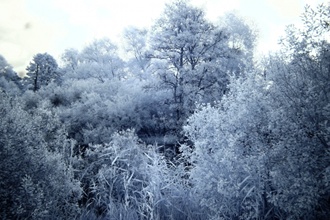 17mm f/4.5. Curves adjusted in Gimp. Blotches visible top-left. 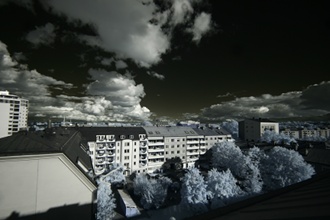 10mm f/4.  50mm f/11. Very visible blotches from the filter. 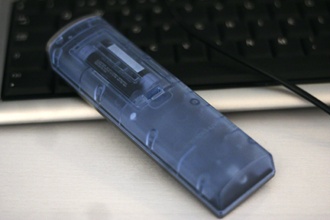 This remote control is as black as the keyboard behind it to the naked eye. This page was last updated: Tue Sep 28 20:56:04 2010 Jonas Norling <norling@lysator.liu.se> |